Showing posts with label foundation. Show all posts

Saturday, 11 March 2017

L'Oreal Mat Magique 12H Foundation Mat Foundation Review.

Hey guys! Hope you all are doing well.

In this week’s post, I will be reviewing the L’Oreal Mat Magique 12H Bright Mat Foundation.

The L’Oreal Mat Magique Pressed Powder is my favourite pressed powder. It can be worn alone only with some primer and it will provide pretty good coverage for your skin. So when L’Oreal launched the L’Oreal Mat Magique Foundation I had to give it a try.

So without any further ado, lets get into the review.


Price

The L’Oreal Mat Magique Foundation retails for Rs.595 for 30ml.


Shade 

The L’Oreal Mat Magique Foundation is available in 5 shades. The shades do not have have a specific name but are divided in the G and N range. The N range seems to be for people with light skin tone and G for people with medium to dark skin tone.


Packaging

The L’Oreal Mat Magique Foundation comes in a metallic pink paper box with the logo and shade mentioned in the front and the claims of the product mentioned at the back. The foundation comes in a metallic pink tube with the logo of the product in the front and some details in the back.The shade isn’t mentioned on the tube. Once you remove the cap of the tube, there is a thin nozzle and you can remove only as much products as required. The product may seem tiny compared to other drugstore foundations. However 30ml is the standard quantity for other foundations as well.


Fragrance

The L’Oreal Mat Magique Foundation has no fragrance.

Texture

The L’Oreal Mat Magique Foundation feels very light on the skin. It is not a full coverage foundation but it decently build able. It is a matte foundation that will best work for oily skin since the sebum absorbant skin oil. It can blended easily even with just your fingers.

Longevity

The L’Oreal Mat Magique Foundation claims to be 12 hour foundation. The foundation does last very long especially if you accompany it with a primer, some compact powder and a setting spray. However after 8 hours the skin tends to look a little tired. However the coverage really stays on for upto 10-12 hours.

Pros

It is travel friendly.
It is affordable.
It helps with oil control.
It is a light weight foundation.
It has SPF 11 and PA++.

Cons

The coverage is average.
It is not the best option for dry skin.

My Verdict 

If you are someone you finds a regular foundation heavy on the skin but would like some more coverage than a BB cream, you should give this foundation a try. If you are blessed with good skin, this foundation might work for you. If you are someone who has dry skin or needs atleast a decent amount of coverage, I suggest you should skip this foundation.

That is all for this post. Hope you found it useful in some way. If you have any questions or suggestions, leave it down in the comments section.
For regular updates, follow our Facebook page  https://www.facebook.com/compactmatters/
Photography Courtesy: Shivam Bhatt.

Saturday, 23 July 2016

Powders 101.


Hi guys! Hope you all are doing well. We are back with our Make up Basics 101 series. In today's post we will be talking about a step after applying your foundation and concealer, Powders. Powders, more commonly known as compacts, is a product that most women own. It is a common misconception that foundation is too heavy on the face for Indian weather and thus most women resort to getting a compact instead. If you are interested in knowing more about compacts, keep reading.

What are powders?
After applying our base, we definitely want it to stay for a long time and not melt in the heat. Setting it with powder is the key to this problem. The powder sets our base and also gives a matte finish.

Types of powders

The two main types of powders are pressed powder and loose powder. Both aim to do the same thing but differ in some ways.


Press powders are packed in small round cases along with a mirror and puff pad. They are easy to carry and not messy at all. However the puff pad on regular use will get dirty and cleaning it is a task. You can use it but a better option would be a kabuki brush or a big powder  brush. The puffy brush picks the right amount and lightly displaces it across your face. The brush is more preferable since it does not displace or rub your base makeup. All you need to do is take the brush with some powder are lightly brush it across the areas to want to set.


L'OREAL PARIS Mat Magique retails for Rs.399 and H&M kabuki brush.

Loose powder is packed in round plastic cases. These are light but really messy, so carrying it in your handbag may not be the bet option.  Loose powder cases generally have a thin plastic layer in the middle with holes, which lets you take the right amount of powder.  There are very few brands which give a puff pad along with it. But there's nothing to worry about since the powder brush is your best friend in this case.Loose powder consists of small particles with a light consistency and the powder brush easily applies it on your face. It is easy to blend and also has less chances of looking caked up.Loose powder, along with setting the base makeup,can also be used for baking.

NYX HD Studio Finishing Powder retails for Rs.825 and PAC Powder Brush 282

Types of Loose Powders

 The translucent powder works great on all when blended well. It sets your makeup and disappears into your skin without looking too much.

Tinted powders give slight coverage and are a good option for everyday use. It gives colour to your face and if applied again and again can look caked up.
So tinted may be a good option for everyday day use it to add some colour along with your primer but if you are looking for something to just set your base, translucent powder is your answer.


How to apply it?
Applying any kind of powder involve the same steps. You start by dabbing your brush or puff into the powder, tap off the extra and then gently brush it across your face. Remember to set the areas you concealed as you want your concealer to stay for a long time. Also do not apply too many layers as your face may look white and caked up.After setting your base you are good to continue with your blush and bronzer.


If you need to touch up your compact, carry your compact along with a kabuki brush. They are not messy and will easily fit into your bag.

That's all for this post, we will be back with a new post soon. 


Photography Credits- Shivam Bhatt.  


Saturday, 11 June 2016

Concealers 101.


The foundation sets the base for rest of your makeup, but does not highlight your features or conceal any blemishes. It is the concealer that does this trick. To know more about concealers, keep reading.

What is a Concealer?

 A concealer is that product which helps to conceal your dark circles, spots and blemishes. It can also be used highlight the high points of your face and add a glow to your base. It is applied after the foundation and is followed by powder.


Types of Concealer:


Liquid Concealer is the most common kind of concealer used as it is easy to apply and blend. This helps you hide your dark circles and blemishes easily.


Stick Concealer is in the form of a crayon and may need to be sharpened from time to time. These are not very easy to blend but still do its work. This works best on spots, acne marks or blemishes.


Colour Correcting Concealer is a type of concealer that uses the properties of colour correctors to conceal discolouration. It is available in various colours like salmon, green, lavender and yellow. Each colour is used to get rid of a certain kind of discolouration. These are mostly available in cream or liquid form.


Picking the right concealer:


Picking the right shade of concealer is very important. Your concealer should be one or two shades lighter than your foundation. You must avoid picking a shade that's too light as it may highlight your problem areas and may end up looking like white patches on your face. Before making your final choice have a look and test out the various options available. While testing a concealer, apply a small amount of the product on your wrist, blend it out and see if it covers up your veins. Once you find a shade that conceals and brightens your face while not being too light for the rest of your face, you have a winner.


How to apply concealer?


Applying any kind of concealer involves the same steps. Once you have applied your foundation you are ready to conceal. To cover up your dark circles you can start by making an inverted triangle under your eye. Starting from the inner corner, dragging it down and then extending it above your check bone. After making your outline, fill it up with the product but do not put too much or it may look caked up.


The next step it blending your concealer, this can be done using a buffing brush or a damp beauty bender. Remember to use dabbing motions in order to prevent your concealer from shifting. This step may take a while but it is important.


Once you have covered your dark circles you can use the concealer to cover any spots or acne marks. You may use a shade lighter shade for your dark circles, but to conceal marks and spots, use a shade that matches your foundation. Spot concealing can be done by taking some product on the brush and then applying it directly on the mark. Once you blend it, your good to go. This can be done with the stick concealer as well.


 Since the concealer used on your dark circles is one or two shades lighter than the foundation, it can be used to highlight your cheek bones, cupids bow, chin, brow bone and fore head. 


Once you have concealed all areas, it needs to be set with some powder. You need to take some powder on a powder brush and dab it on the concealed areas. This will help to set the concealer and prevent any kinds of creases and cracks.
With colour corrector and foundation, Application of concealer, With colour corrector, foundation and concealer.

With foundation,  Application of concealer, With foundation and concealer.

Photography by Shivam Bhatt and Ananya Khatri.


 We hope you found this post helpful. We will be back with a new post next week. 


Saturday, 28 May 2016

Foundation Reviews


Every brand in the market has multiple foundations with different claims. Selecting a foundation can get a little confusing especially for beginners. So we have we have compiled reviews of 5 foundations that may help narrow down your next foundation purchase.
Remember: This is not a top 5 foundation list.These are just products we have personally used and feel it can meet different needs in terms of coverage, longevity and skin type.
  •  Maybelline’s Fit Me Foundation Matte and Poreless : which retails at Rs.525 for 30ml. It is one of our favourite foundations for normal to dry skin. It has medium coverage but can be easily built up to full coverage. It has a range of shades which are available in stores and online as well. This foundation does live up to its claims of giving a matte finish while matching natural tones and still gives a seamless finish. The foundation has a very runny texture and needs to be set by powder. It lasts for a good 5 hours without a touch up and if set with powder, the oxidisation is negligible. It does not make the skin oily and photographs well. The only complain from this product, is the packaging. It comes in a glass bottle like most foundations, but does not have a pump. After the first use itself, the product is all over the cap and if not shut well, it may spill easily.
  • You can buy it here-


  • L’Oreal Paris True Match Foundation- retailed at Rs.1025 for 30ml.The claims and texture of the product is similar to Maybelline’s Fit Me foundation. It also has SPF 17. It it not very thick in nature making it easy to blend. It has an amazing shade range available in stores and online. It provides medium coverage which makes the skin look healthier ,just like any other foundation. However once the foundation is taken off it gives no additional benefits to the skin, like it claims to. It looks fresh for 3-4 hours after which it does tend to oxide slightly and must be set with settling powder. It comes in a glass bottle with a pump making the application easy.
  • You can buy it here - 


  • Lakmé 9 to 5 weightless mousse foundation- retailed at Rs.575 for 29ml. It has a thick texture and consistency providing a matte finish. It comes only in 4 shades, all having yellow undertones. Like it claims, it provides coverage for daily use, blends effortlessly and is still weightless. This is definitely the most lightweight or weightless foundation we have come across. Even the most lightweight BB creams feel heavier than this foundation. However, it has low coverage and cannot conceal any blemishes. This can be your go to foundation if you are looking for a everyday natural look. This can be blended without a brush or makeup sponge and does not need to be set by powder. It lasts for a good 5-6 hours before it stars to oxidise. As for the packaging, it comes in a plastic tube with a nozzle, making it travel friendly.
  • You can buy it here-


  • L’Oreal Paris Infallible Foundation -retailed at Rs.1325 for 30ml. Its consistency is thicker than most liquid foundations and may feel a bit heavy on the skin. It has a range of shades available in the market and online as well. It comes with SPF 18 , with almost no oxidation and  photographs well too. It claims to last for 24 hours, cover all imperfections with no transfer and dry outs. It is easy to blend, has high coverage and lasts long if not for 24 hours. If not set with powder, it does transfer. It is perfect for all skin types as it prevents the skin from getting oily or dry. It may be a pinch on your pocket but it is really good for special occasions. It is packed in a glass bottle and is not messy as it comes with a pump.
  • You can buy it here -


  • Za Perfect Fit Liquid Foundation- retailed at Rs.700 for 30ml. The foundation has a water based formula with  SPF 17 PA++. It is an extremely lightweight foundation which  provides sheer coverage lasting for 4 hours. It is a good option for daily wear since it makes  your skin look healthy. It has a limited range of shades with mostly pink undertones. It needs to be set with powder to prevent oxidisation. It is packed in a small plastic bottle with a nozzle, making it easy to carry. I believe this is a good alternative for  the Lakmé 9 to 5 foundation if you have predominant pink undertones or cannot find your shade in their range.


We hope you found this post helpful. Let us know if you have any feedback or questions.We will be back with a new post next week.
Photography Credits:Shivam Bhatt.


Saturday, 21 May 2016

Foundations 101.

Foundation is the most popular among the base make up products.That being said,we have realised a lot of people have misconceptions about foundations. They feel it makes them look “white” and unnatural. Add to that the hot humid weather of India, which makes people dread even the thought of having a layer of product all over their face. However with a simple understanding of foundations and the requirements of your skin, we can help you get rid of all your misconceptions.


What is foundation?
Foundation is a product that aims to provide an even toned coverage and make your skin look healthy. It may differ from high coverage to low coverage depending on the product and requirements of the skin. It is usually preceded by primer and colour corrector and is followed by concealer.
Types of Foundation:
Liquid foundation- The most common among all kinds as it suits all skin types. Liquid foundations may provide a matte or dewy finish. 
Stick foundation- It is a bit rare and is mostly used by professionals. This is not the best option for beginners since it is a little hard to blend. It should be avoided by people having dry skin.
Powder foundations- Another common type of foundation. Mostly used to set the liquid foundation and prevent it from slipping and transferring. It is a good option for people with oily skin since it helps with oil control.
Cream foundation- Also known as mousse foundation is not a popular choice. It works best for normal to dry Skin.
How to pick the correct shade of foundation?
In order to identify the correct shade of foundation for yourself, you first need to identify your undertones. If you have a warm toned skin, then you predominately have yellow undertones. If you have a cool toned skin, then you predominately  have pink undertones. It is highly unlikely for an individual to have only yellow or pink undertones. Most individuals are a combination of both. However whichever undertones dominates your skin is your primary undertone. Most Indians have yellow undertones. So while picking up your foundation, if the shade seems fine but it does not seem to match your complexion, you probably need to check for a product with different undertones.
Often while choosing a foundation, people swatch the foundation on their wrist. However there might be a slight difference in shade on your wrist and on your face. So, to get a more accurate match it is better to swatch the foundation on your jaw line.
Foundations also tend to oxidise which means they become a little darker a while after being applied. The oxidation depends on the product. Thus never pick up a foundation in a rush. Take your time.  Swatch various shades. Look at other products and then come back and decide which shade works the best for you.


How to apply foundation?
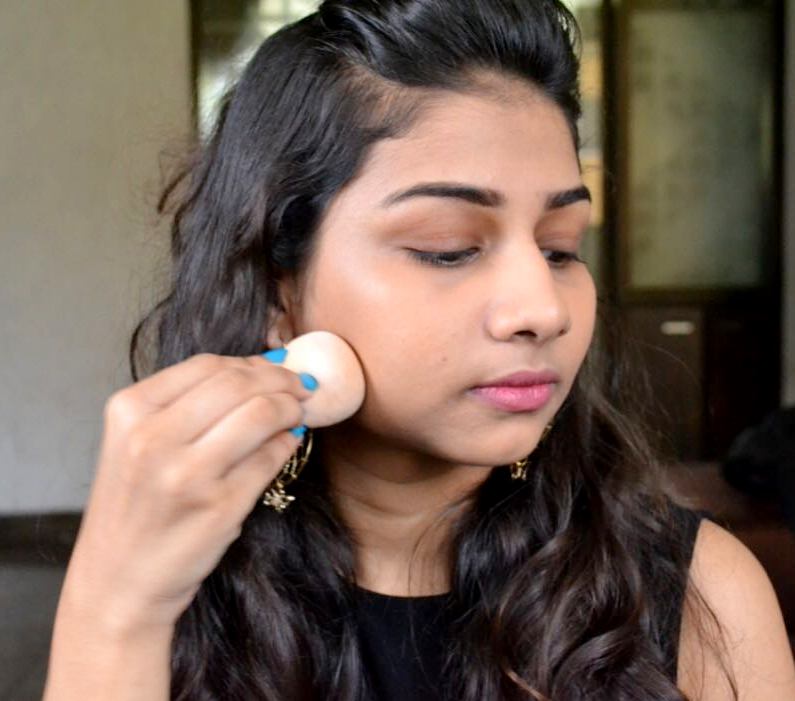
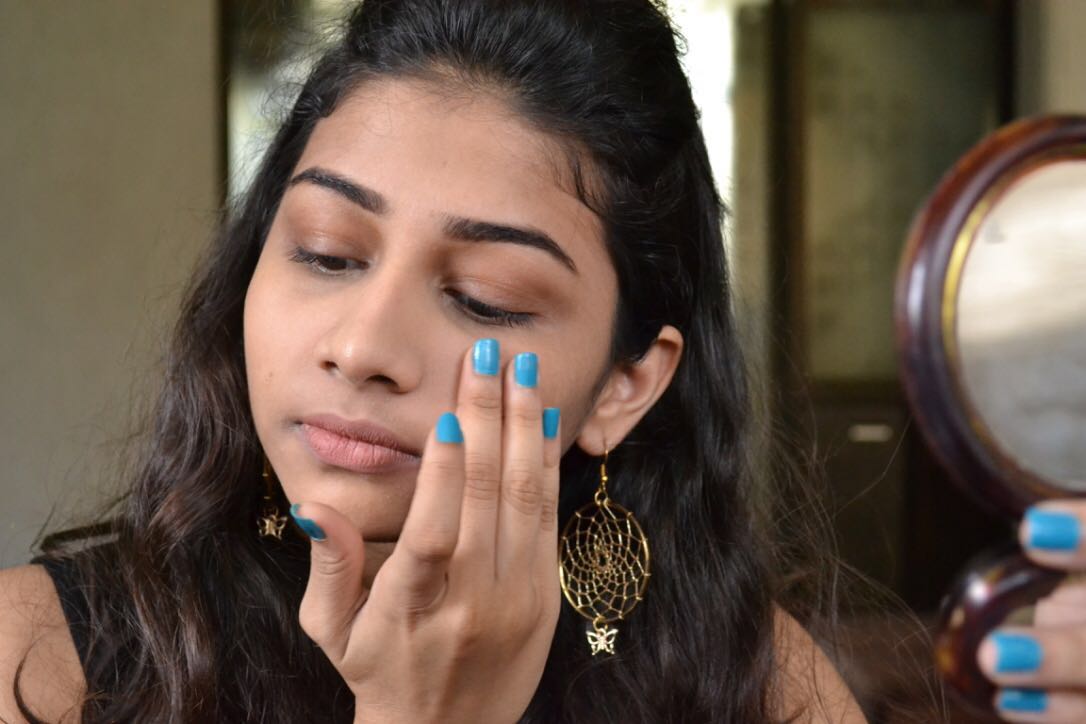
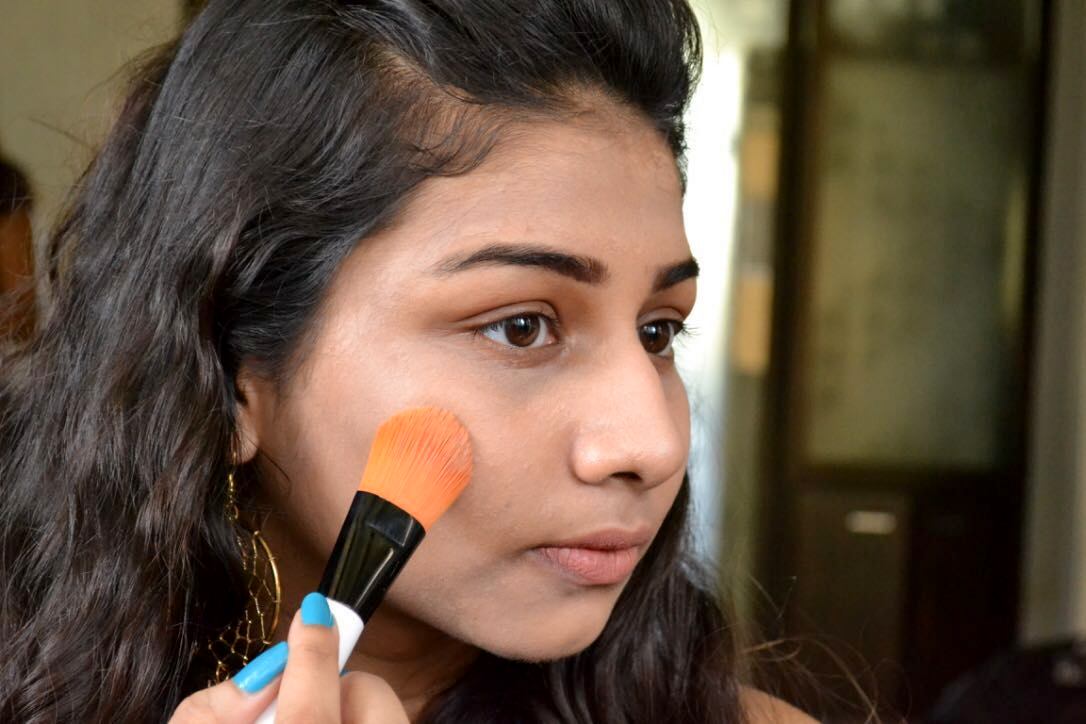
Once the primer has settled into your pores, you can begin with the application of the foundation. The application depends on the texture of the foundation and the coverage you are looking for. If you are not looking for full coverage, just take a small amount of foundation on the back of your palm, dot it all over your face and neck with your fingers and blend it with a buffer brush or make up sponge. However if you are looking for higher coverage, use a foundation brush instead of your fingers. This is the general method of application for liquid and cream foundations.
The application for powder foundations is comparatively simpler. All you need to do is dab a powder brush into the product (You can remove the excess product) and then just simply swirl the brush all over your face in downward strokes. 
To avoid a patchy look remember to put some foundation on your neck as well.
Alternatives for Foundation:
BB Cream( Blemish Balm or  Beauty Balm) - It is a tinted moisturiser with anti aging properties  providing a limited coverage. It can be used as a primer, to conceal blemishes and to brighten one’s skin. This is definitely a better option during those breakout days, giving you a glow without applying too much.
CC cream (colour correcting or complexion correcting cream)-  It is similar to a BB cream but differs in coverage and texture. It has a higher coverage with a thicker texture compared to a BB cream.
We hope you found this post helpful. Let us know if you have any feedback or questions.We will be back with a new post next week.

Photography Credits: Shivam Bhatt.